Feb 2016
Mapping of small development site
29/02/16 23:39 Filed in: Aerial Mapping
Without going into too much detail, the below is a general overview of the procedure we use to fly an aerial drone mapping mission.


With the map imaging information gathered we then take it back to our office and develop the following outputs:
Once the mapping has been completed, simple measurements such as distance, area and volume can easily be determined by key point selections on a map view window. Annotations of key points can also be added for future reference.
A picture is worth a thousand words and using drones to undertake progress shots across a construction site allows closer access and is therefore a great tool that provides excellent detail allowing for:
- Before any aerial mission takes place a job safety analysis is carried out to ensure that safety of the public, surrounding property and the aerial vehicle (drone).
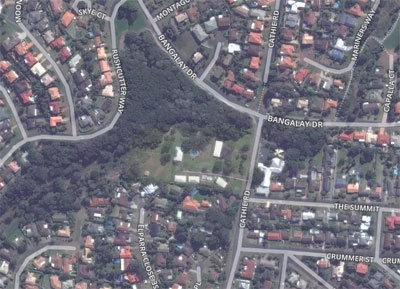
- One of the initial tools used to determine the location and genera surrounds is a Google map image of the existing site.

- This is then followed up with a site visit to check that the site is clear of any obstacles and to determine the best launch/landing zone.
- A flight plan is then set out to establish the height above ground level for the mission as well as the appropriate grid pattern over the site based on that flight level:

- Once the mission is set, safety and flight conditions are confirmed and the launch is approved by the Chief Pilot then the mission is carried out and the drone will fly the programmed mission taking numerous overlapping photos along the planned grid route, like the example below.
- Once the map imaging has concluded, we then launch the drone to a height of approximately 300' (100m) above ground level and carry out a spherical panoramic shoot. This provides an excellent overhead aerial location perspective which can prove beneficial for both the project developer and their clients
With the map imaging information gathered we then take it back to our office and develop the following outputs:
- Orthomosaic - think of it as a birds eye view;
- NDVI Layers - Normalised Difference Vegetation Index… used for assessing vegetation health;
- NDVI Toolbox - used to intelligently display your NDVI data to make informed decisions;
- NDVI Threshold - quantifies the area of your map that falls within NDVI values;
- Elevation Toolbox - used to measure and understand the elevations and depths of each area of your map;
- 3D Model - greatest visualisation tool. Incorporating imagery of the site from different angles
Once the mapping has been completed, simple measurements such as distance, area and volume can easily be determined by key point selections on a map view window. Annotations of key points can also be added for future reference.
A picture is worth a thousand words and using drones to undertake progress shots across a construction site allows closer access and is therefore a great tool that provides excellent detail allowing for:
- better site control and management;
- better stakeholder communication;
- management of progress and scheduling;
- better stakeholder communication;
- better marketing and community consultation;
- 3D modelling and bulk civil quantities;
- better internal reporting and compliance with authority conditions;
- a safer, quicker way of assessing various elements of a work site.
